

Enabling Memcached in cPanel:
You can enable Memcached from your cPanel account by following the steps given below:
- The first step is, login to your cPanel
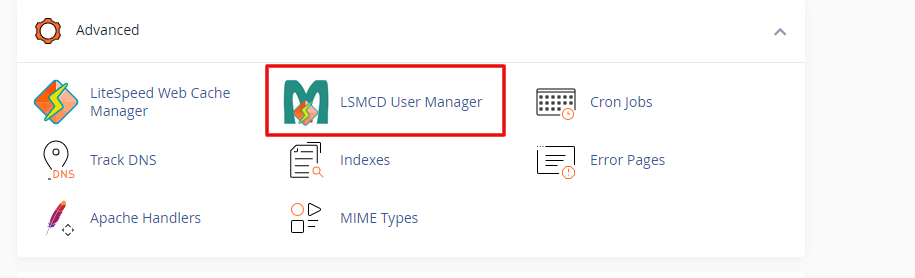
- Go to the Advanced section and then click on the LMSCD User Manager icon.
- Now in the next step, create a password for your LMSCD username. And then click on the Change Password button.
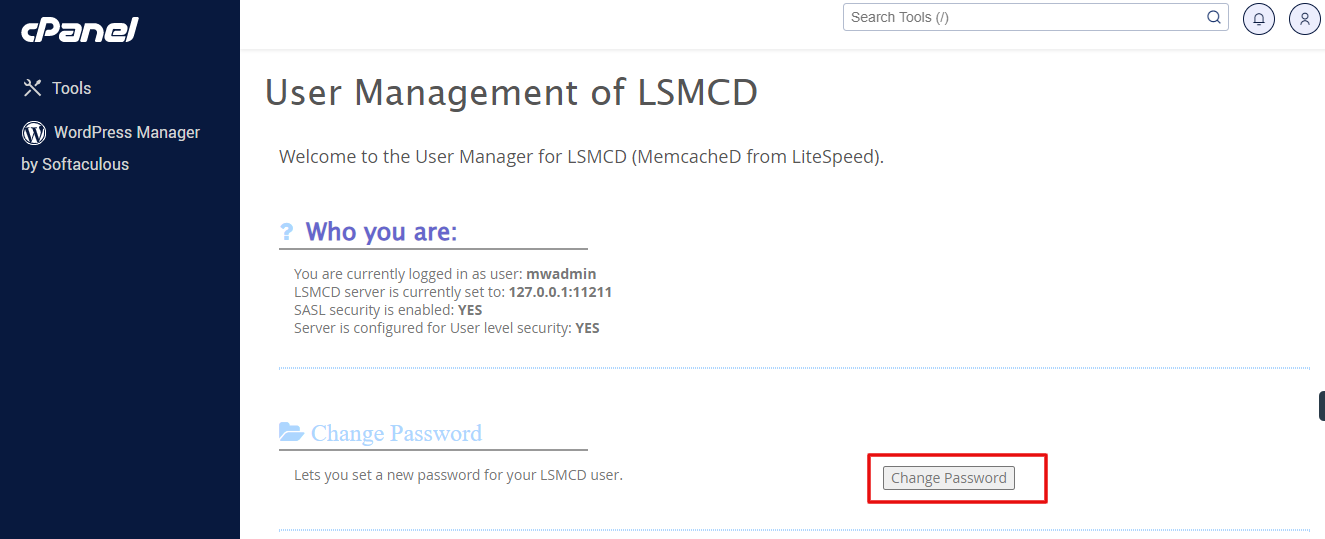
- You will also have the option to set a new password for your LMSCD username.
Enabling Memcached for Your WordPress Site
If you have a WordPress based website and you need to use the LiteSpeed Cache plugin, follow the instructions given below to enable the Object Cache.
To do so, first go to your WordPress dashboard, then navigate to the LiteSpeed Cache> Cache> Object
Note: If you do not have the LiteSpeed cache plugin on your site, then first install and activate it.

As we have mentioned above, set the Username and Password which you have set in the cPanel. All the other fields should be remained as by default.

You need to do this, for every installation of WordPress as required.
And that’s it. This is how you can enable Object Cache on your WordPress website.
Enabling Memcached for Other Web Applications
If your site is running on other platforms and you need to use Memcached, use the settings given below. It shows how to enable Object Cache.
Method: Memcached
Host: 127.0.0.1
Port: 11211
Default Object Lifetime: 360seconds
Username: The username of cPanel
Password: the password which is set for your LSMCD username in cPanel.
And this is how you can enable Memcached for other type of web applications.
Hope this guide helps!