

Introduction
When you have an application that needs to be deployed on a cPanel server, you will have to perform several configurations and setups. While there are many container management tools available, Podman makes it easy to use containers without the need for a daemon. This guide will demonstrate how you can use Podman to deploy a Tomcat application on a cPanel server so that everything is set up to work effortlessly for your clients.
Step-by-Step Deployment Guide
Step 1: Install Tomcat Using Podman
First, open the Terminal from cPanel to create a new Tomcat application by running the following command:
/scripts/ea-podman install ea-tomcat101
This command will create a folder named similar to ea-tomcat101.cpanelusername.02 in the ea-podman.d directory.
Step 2: Upload Your WAR File
Navigate to the folder /home/cpanelusername/ea-podman.d/ea-tomcat101.cpanelusername.02 and upload your .war file into the webapps directory. Ensure that your .war file is named ROOT.war.
Step 3: Configure Tomcat
Next, go to the directory /home/cpanelusername/ea-podman.d/ea-tomcat101.cpanelusername.02/conf and edit the server.xml file. Locate the following line at line 123:
<Host name="localhost" appBase="webapps" unpackWARs="false" autoDeploy="false" deployOnStartup="false" deployXML="false">Replace false with true in this line, so it reads:
<Host name="localhost" appBase="webapps" unpackWARs="true" autoDeploy="true" deployOnStartup="true" deployXML="true">Save the file and exit the editor.
Step 4: Restart the Tomcat Service
Restart the Tomcat service to apply the changes by running the following command:
/scripts/ea-podman restart ea-tomcat101.cpanelusername.02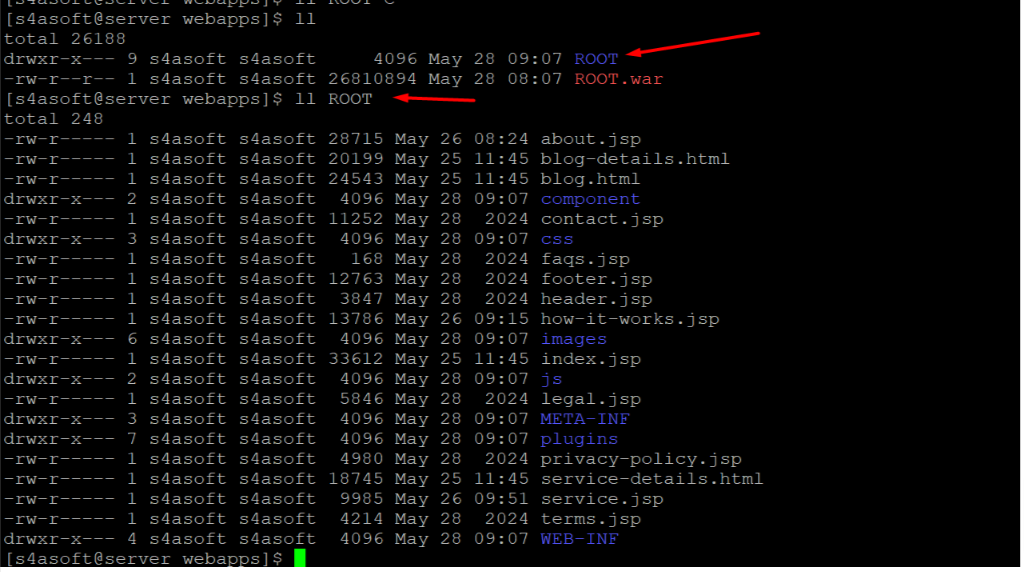
Upon restarting, your .war file will be deployed in the webapps folder, and a directory named ROOT will be created.
Step 5: Edit Apache Configuration
Log in to SSH as the root user and edit the Apache configuration file located at /usr/local/apache/conf/httpd.conf. Search for the domain dhanrishtacredit.com and uncomment the following lines in the virtual host entries for ports 81 and 444:
Include "/etc/apache2/conf.d/userdata/std/2_4/cpanelusername/dhanrishtacredit.com.cpanelusername.com/*.conf"Include "/etc/apache2/conf.d/userdata/ssl/2_4/cpanelusername/dhanrishtacredit.com.cpanelusername.com/*.conf"Save the file after making these changes.
Step 6: Create Required Directories
Create the following directories as the root user:
mkdir -p /etc/apache2/conf.d/userdata/std/2_4/cpanelusername/dhanrishtacredit.com.cpanelusername.commkdir -p /etc/apache2/conf.d/userdata/ssl/2_4/cpanelusername/dhanrishtacredit.com.cpanelusername.comStep 7: Create Proxy Configuration
In both newly created directories, create a file named proxy.conf and add the following code:
<IfModule proxy_ajp_module> ProxyPass "/" "ajp://127.0.0.1:10009/"</IfModule>You can determine the port by running the following command:
podman ps
Step 8: Restart Apache
Finally, restart the Apache server to apply the changes.
systemctl restart httpdThat’s it! Your Tomcat application should now be accessible.